

In this tutorial we will talk about using your keyboard to place footage into a project timeline. The most obvious way to put footage into your timeline is to drag it there with your mouse. But mice are for suckers! You want to learn keyboard shortcuts! You do, I swear! Put all eleven ten of those chubby flesh sticks (that you call fingers) to work!
First highlight the clip that you would like to place into your timeline.
Since I’m teaching you how to do it all with your keyboard – Hit the “tab” key until you get to your clips in your browser. Then use the arrow keys (up and down to switch clips, left and right to toggle frames) to get to your desired clip. Set the beginning and end of the clip if you haven’t already by pressing “i” and “o” respectively.
Next hit “Q,” “W,” or “E” to put the clip in your timeline.
Ohhh! Ahhh! I made a fancy graphic thingy for you! Print it, pin it, save it, shave it into your dog!
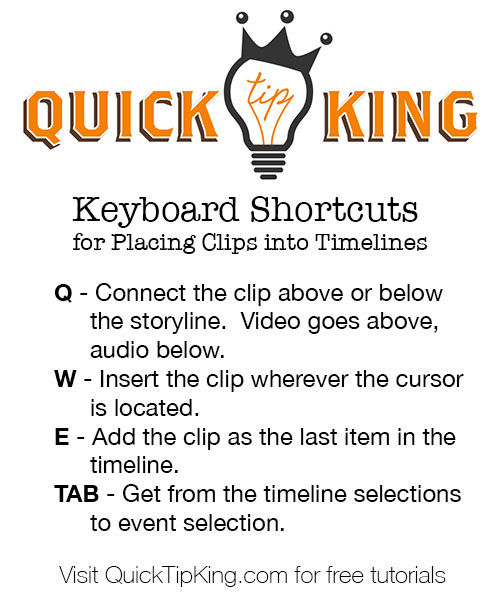
Q – Connect the clip above or below the storyline. Video goes above, audio below.
W – Insert the clip wherever the cursor is located.
E – Add the clip as the last item in the timeline. TAB – Get from the timeline selections to event selection.
You can switch to placing video and audio, video only, or audio only with your keyboard or by clicking on the importing tool’s down arrow.
Video and Audio – Shift + 1
Video only – Shift +2
Audio only – Shift + 3
That’s how you can place clips into your project timeline without ever touching your mouse! Save time, work those fingers! God gave you 11 10 for a reason!
Did you find this tutorial useful?
Hit me up with your questions!